This is a four part blog series on how I wrote a webapp using Razor Pages, added an Azure SQL database, deployed to Azure App Service, and then viewed the results using PowerBI.
Now we've built our Razor Pages webapp, added an Azure SQL Database, and in this post we're going to deploy it to Azure App Service.
Firstly, we'll need to containerize our application, so we'll download Docker for Windows (yes, I develop on Windows - sue me) and create an image of our application.
For this part of the process, I followed the Docker docs on Dockerizing an ASP.NET Core app.
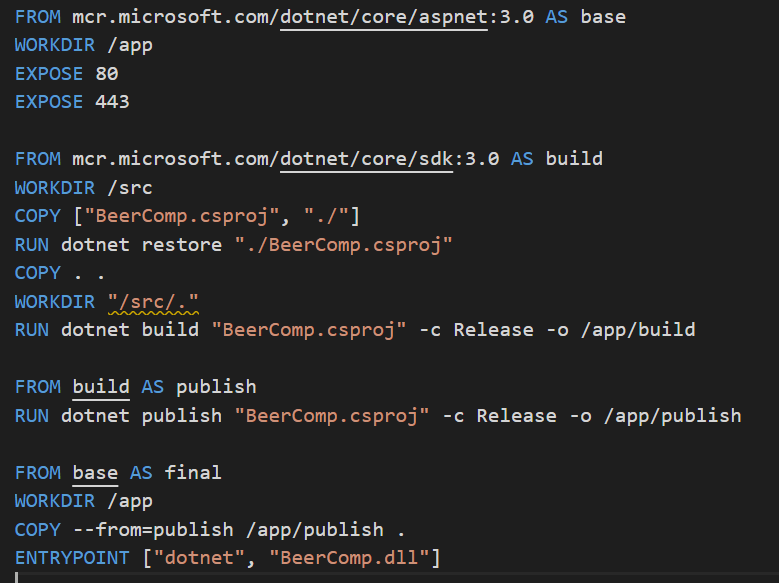
First, we need to create our Dockerfile. For those more from the Windows world, a Dockerfile is sort of like an Unattend.xml sysprep file or a VM template file. It contains all the steps necessary to build your application, and how configure the container - e.g. what services to run, firewall ports to open, etc.
I updated Docker's example a little, as they were using an ASP.NET Core 2.2 image, whereas I wanted the latest & greatest 3.0 release (at the time)
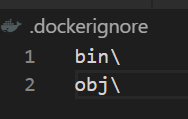
Next, we'll create a .dockerignore file - this tells Docker not to include certain stuff in our image (to keep the size down) - similar to a .gitignore file. The Docker docs recommend adding bin\ and obj\ to your .dockerignore at least, but there are lots of more verbose examples online.
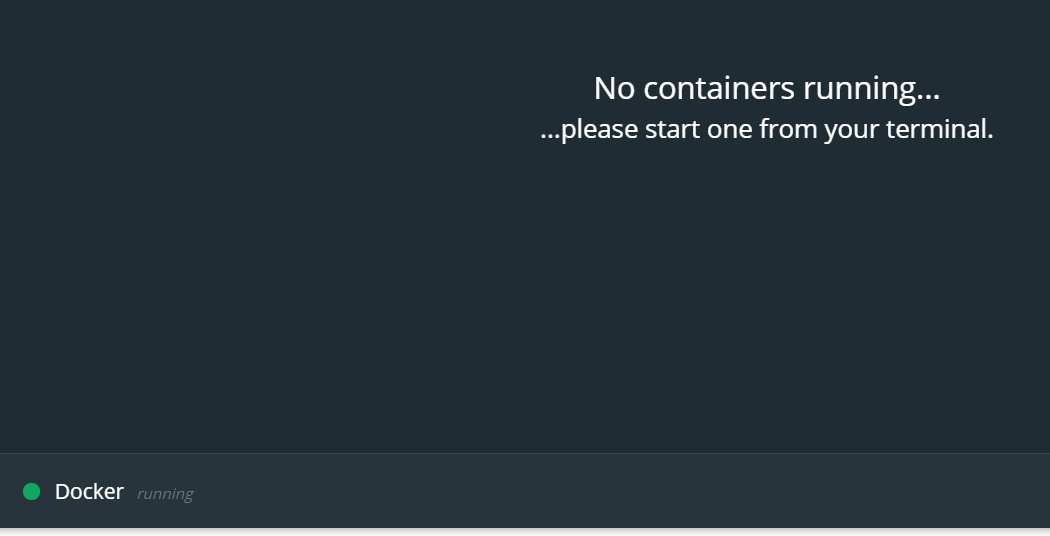
Now, double check that Docker Desktop is running (green light on bottom corner of Dashboard)
Next, navigate to your project folder and run the below command in an elevated PowerShell window

build the docker image with the tag "beercomp"

list your docker image and filter by reference

run the docker image "beercomp" and call it beercompapp
-d run in the background
-p map ("publish") the following ports from docker image to host
Now, you should be able to browse to http://localhost:8080 and view our webapp!

But this is just running your docker image on your local computer. Now, you need to publish your docker image to a "registry" and host it somewhere. Instead of Docker Hub, we're going to use Azure Container Registry and deploy to Azure App Service.
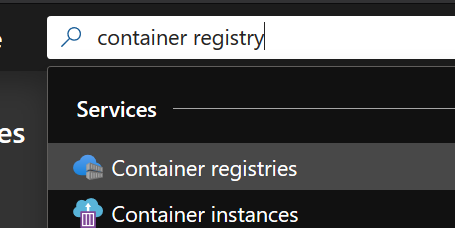
Log into portal.azure.com and search for "container registry"
Create your Container Registry. We'll just use the basic SKU as we don't require a high level of performance. The Premium SKUs also allow you to lock down the firewall to certain IPs, but we're happy with this being public.
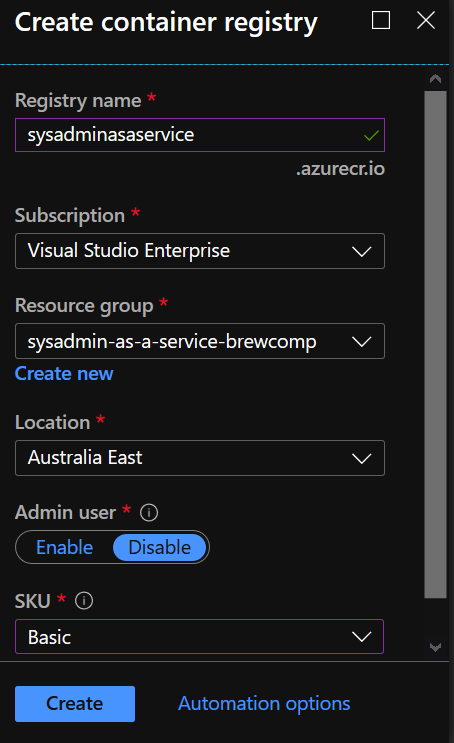
Note: you'll have to enable the Admin user later to upload your image to your Container Registry
Once you've enabled your Admin user and retrieved the username/password, open up docker cli again and log into the registry

Tag your docker image with your registry name

And now push to your registry

Success! Time to set up our Azure App Service that we can deploy our container to.
In the portal, search for "App Service plans" and click Add. App Service plans are the compute & storage backing for whatever resource you add on top of it - this could be an Azure Web App, Azure Function, Logic Apps, etc. The cool thing is you can use one App Service plan (or set of compute & storage resources) for multiple PaaS resources - i.e. run multiple Logic Apps, Azure Functions, or Web Apps on it.
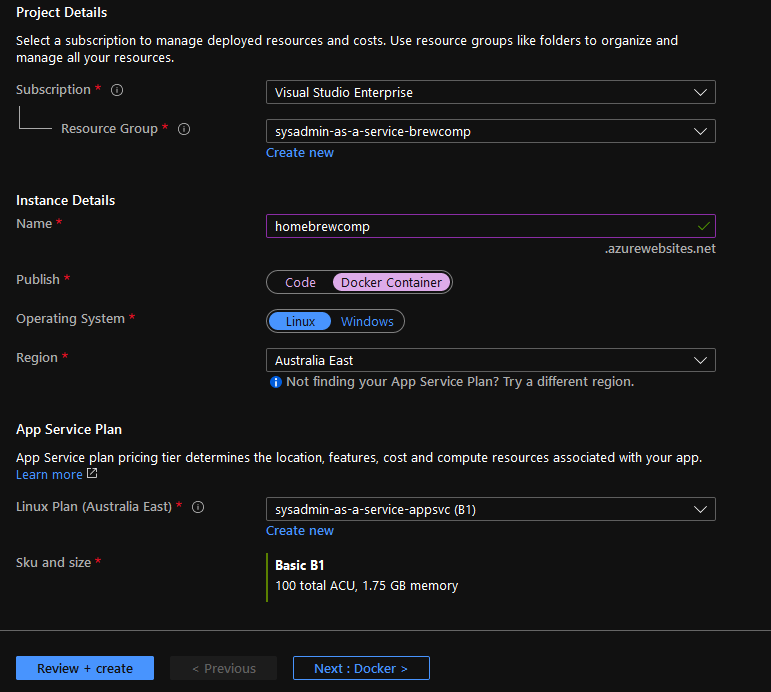
Choose your Resource Group, Operating System (I'm using Linux for my container), region, and then pick your App Service size.
I found the F1 instance (which has a limit of 60m/day compute) was a little slow to use and the first B1 size Linux instance you use is free for the first 30 days (normally ~NZD20/month). This was "good enough" for testing etc., but I scaled up to the B2 instance, just to give it a snappier end user experience on the actual brew competition day.
Hurrah, cloud computing!

Free? Yes plz!
We've created our App Service Plan, but still need to create an App Service - head over to "App Services" and click Add.
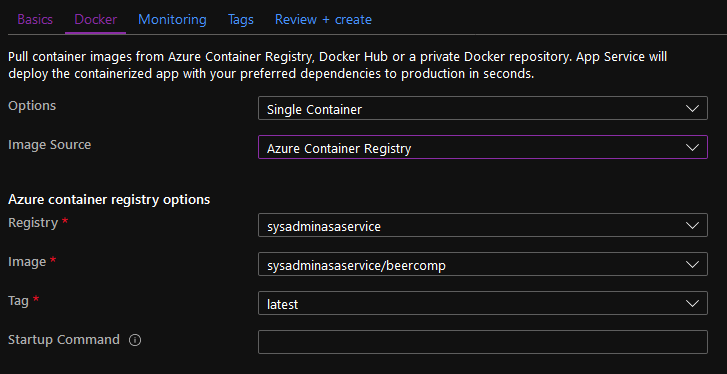
Fill out the details of the name of your instance, and select "Docker Container".
B1 was OK for testing, but my users demand the best experience - so I scaled this up later
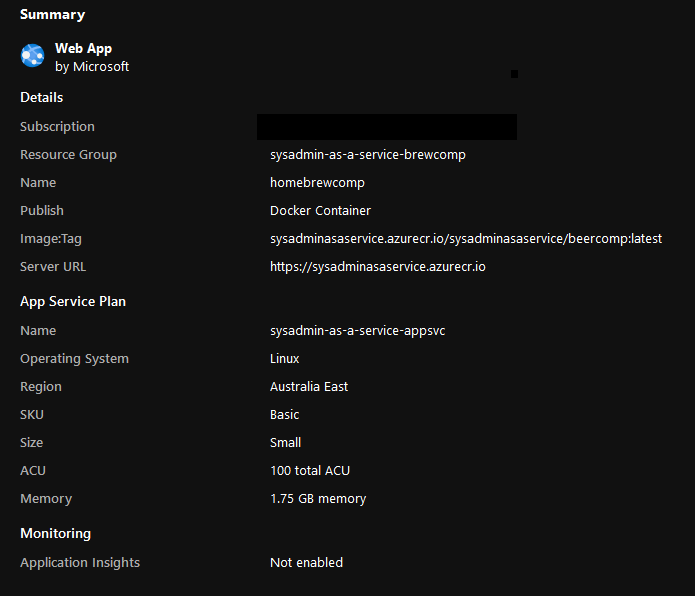
Create!
Aaaaand... we're done.
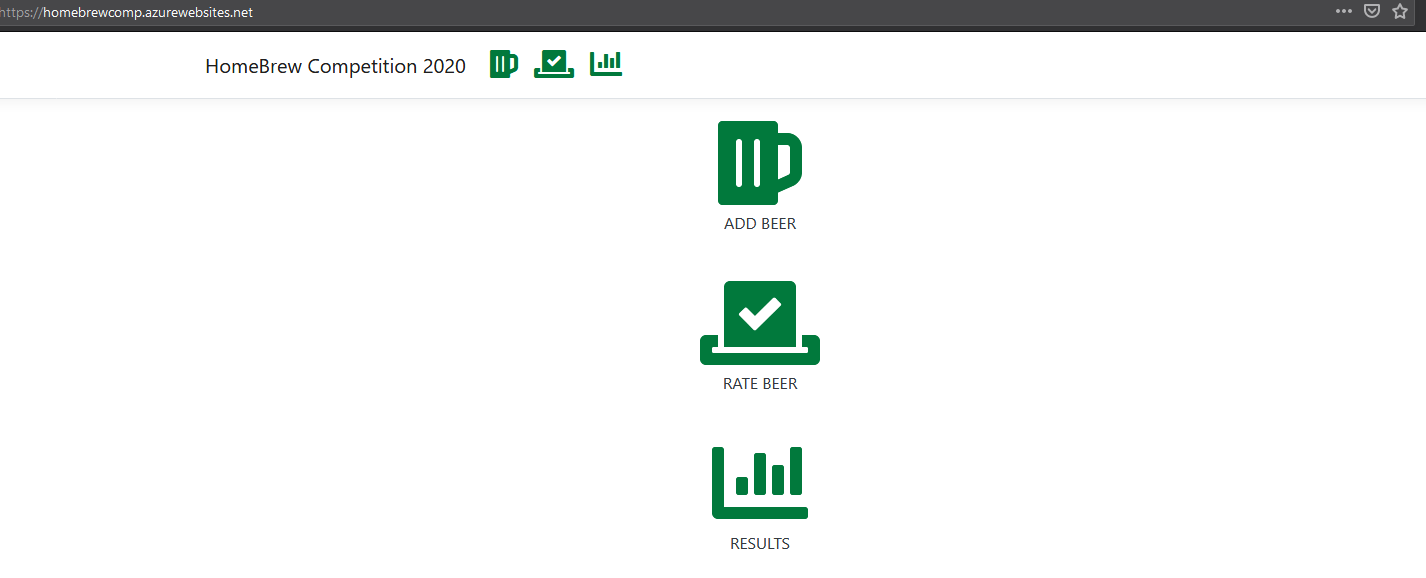
Bonus points if you noticed I updated the banner to read "HomeBrew Competition 2020"
PRO TIP!
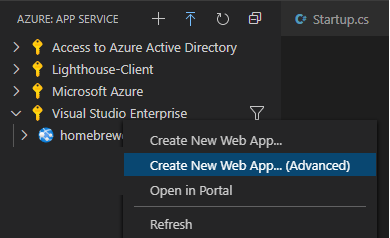
If you're using VSCode, you can actually install the Docker extension and quickly add your container registry, push your image, then in the Azure App Service extension for VSCode, create & manage your App Service from there!
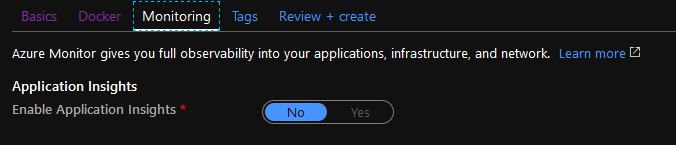
You can choose "Create New Web App..." and it'll create a new App Service on the free tier, in Central US, with Application Insights enabled, or choose the Advanced option for more configuration options.